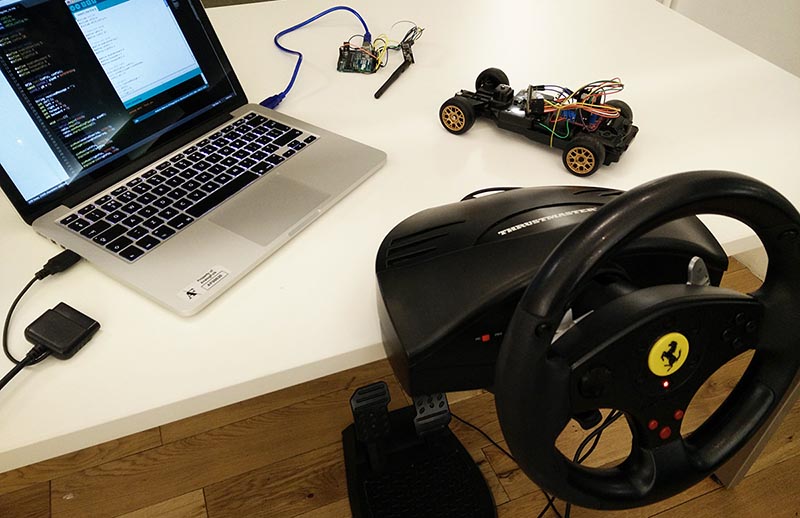
We constantly see developers pushing the limits of JavaScript; mobile and desktop applications, 3D games and so much more … but it’s a different story to connect a USB racing wheel to the browser and read it with the HTML5 Gamepad API and drive a Radio Controlled toy car through WebSockets and a Node.js server.
The JavaScript code
I started the project off by experimenting with reading raw data from USB joysticks, gamepads and racing wheels from the browser. This is a relatively easy task in browsers supporting the HTML5 Gamepad API:
// USB gamepad data retrieved from the navigator object

var rawGamepads =
    (navigator.getGamepads && navigator.getGamepads()) ||
    (navigator.webkitGetGamepads && navigator.webkitGetGamepads());
I got the original code from Marcin Wichary who built it for the London Olympics Google doodle hurdles game. Yes, this doodle game supports any USB gamepad.
You might wonder why we need so much code in that gamepad.js file if all the joystick raw sensor data is available in navigator.getGamepads. Well, it handles feature detection, event listening for connection/disconnection and a fix for Chrome which doesn’t fire gamepad events.
After gamepad.js is loaded and initialised the gamepad object is filled with the sensor data:
// USB gamepad data retrieved from the navigator object

myGamepad = gamepadSupport.gamepads[0];
// Steering:
myGamepad.axes[0];
// Acceleration:
myGamepad.axes[1];
// Breaking:
myGamepad.axes[2];
// Buttons from 0 - 12:
myGamepad.buttons[0]
Once the steering wheel and pedal control data is filtered and compiled into a JSON object it’s ready to be sent to the car. In the background we are running a Node.js server which connects everything together.
// USB gamepad data retrieved from the navigator object

var app = require('express')(),
    server = require('http').createServer(app).listen(8080);

// respond to web GET requests with the index.html page:
app.get('/', function (request, response) {
    response.sendfile(__dirname + '/index.html');
});
Running this javascript file from the terminal with node index.js will start the server up and serve index.html at the localhost:8080 url. After that we initialise the Web Socket which creates a real-time connection between the browser and the server. With web sockets you could actually connect multiple users and browsers together to create multiplayer games for example.
Setting up the web socket and sending a message from the browser and receiving it from the server is really easy:
// Node.js server code to start the web socket

var io = require('socket.io').listen(server);

// listen for new socket.io connections
// we don't start reading anyting until the browser has connected
io.sockets.on('connection', function (socket) {
    socket.on('message', function (data) {
        // data sent from the browser
        console.log(data);
    });
});
// Front-end code to send web socket message
// dataString is the JSON with the wheel and pedal control data
socket.emit('message', dataString);After this, magic happens in Node.js. We establish connection with the Arduino microcontroller board that is connected to the USB port. This is something you would never be able to do from the browser without a third-party plugin due to security reasons.
// Node.js code to send serial message to the USB port

// open the USB serial port
var myPort = new SerialPort("/dev/tty.usbmodem1421", {
    // look for return and newline at the end of each data packet
    parser: serialport.parsers.readline("\r\n")
});

myPort.write(messageReceivedFromTheBrowser);
The write function needs to go inside the socket on connect and socket on message functions so our message to the Arduino is the JSON object we received from the browser through the web socket.
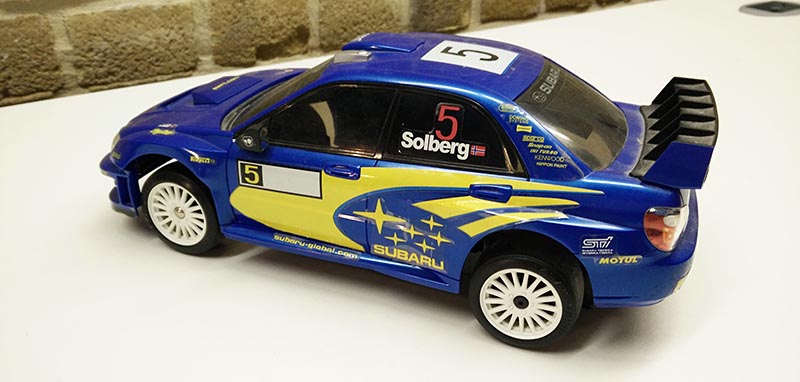
The RC car
The work has started off by taking out the original radio and motor drive modules and the antenna from the car. I was left with two motors, one for steering and one for acceleration, and the plan was to rebuild the whole architecture using Arduinos. I succeeded and the motors are now driven with a powerful H-bridge module (L298n) and the wireless connection is handled by two nRF24l01 antennas. The Arduino and the motors are both powered from the original 6V battery pack (4xAA).
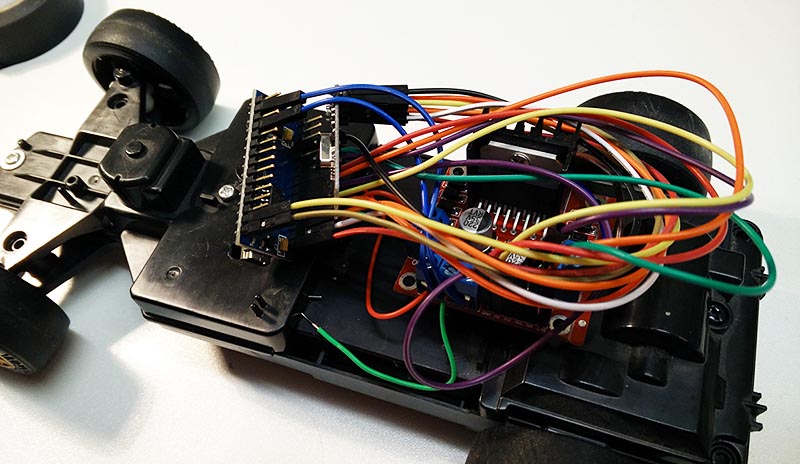
The onboard Arduino Nano receives wireless messages from the Arduino UNO connected to the my Macbook Pro which is the one communicating with the Node.js server and the browser.
Future plans
There are so many parts of this projects that are really exciting and interesting and parts that are a little bit more difficult to fully implement. So please let me know and leave a comment if you want me to create and extended tutorial on this project!
I’m also planning to improve the car by installing an onboard wireless camera, a more powerful RC battery pack and maybe a few more sensors or lights.