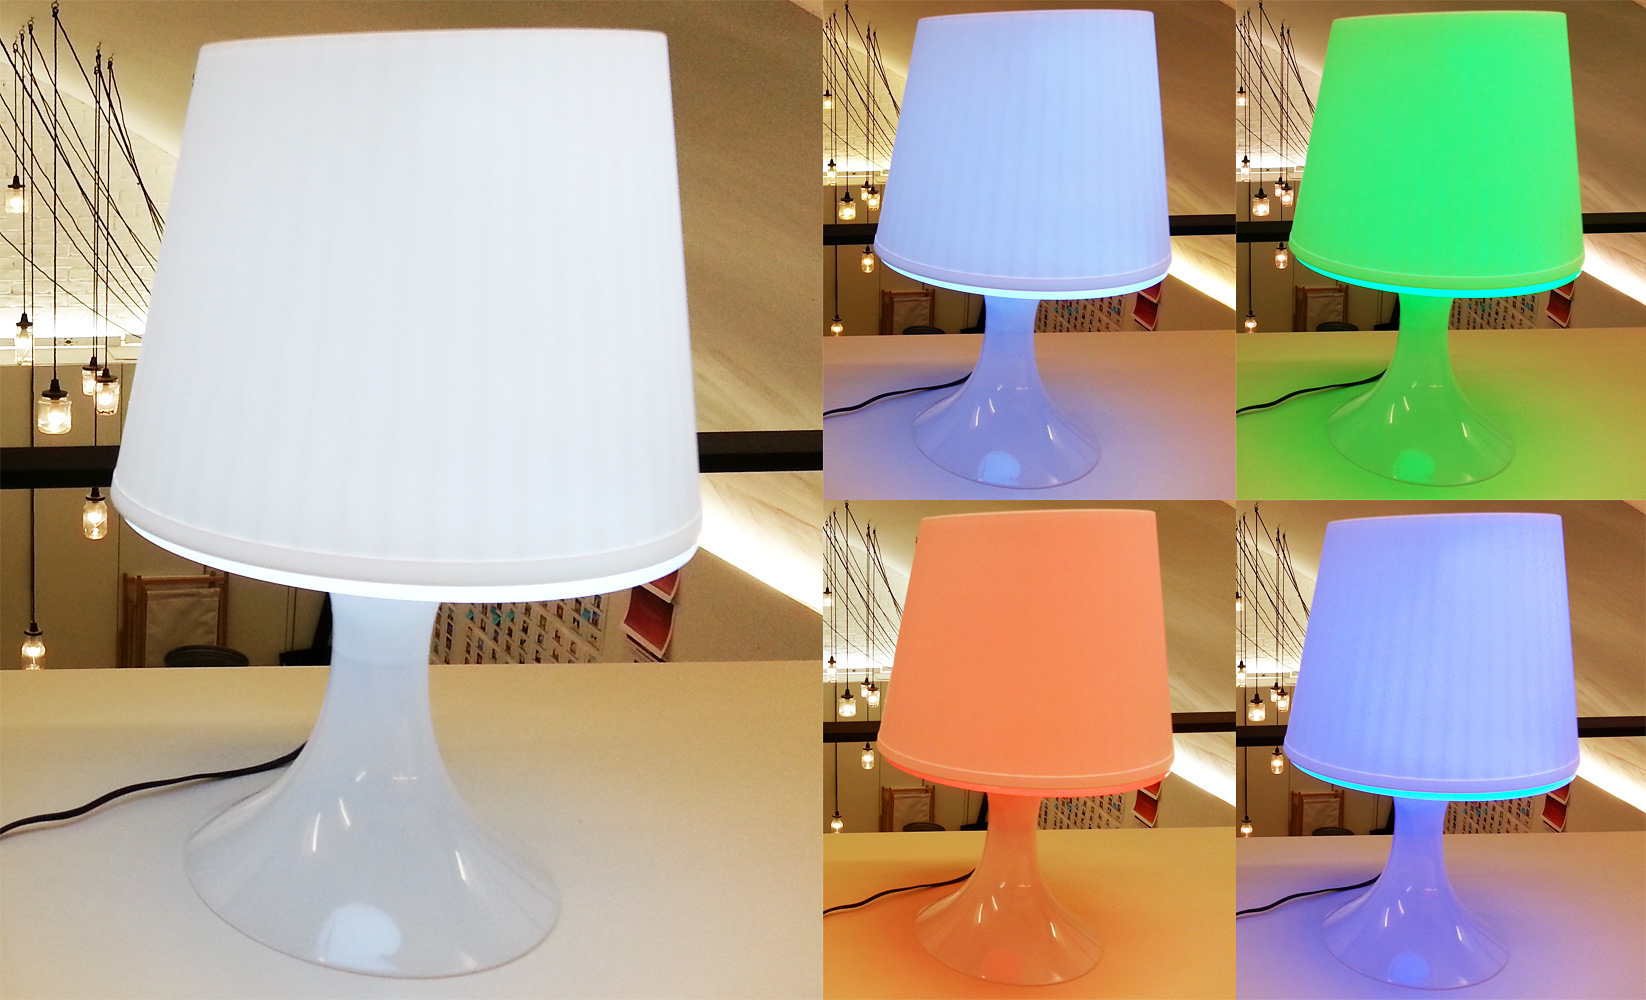
This IKEA lamp has been completely stripped and rebuilt using a Spark Core Wi-Fi board and a 12V RGB LED strip. The desk lamp can now shine in 16 million different colours and be controlled from the ‘If This Then That’ app. I use it for notifications and set it to change to different colours when something happens with my emails, Facebook, Twitter or Instagram. A visual notification centre, I call it.
The Core of the project
For this project I used a Spark Core which is an interesting Wi-Fi enabled, Arduino compatible cloud based board.
Spark, was just a small startup company last year trying to get funding on Kickstarter for their first board, the Core. Now they are much larger, changed their name to Particle and have released two new development boards.
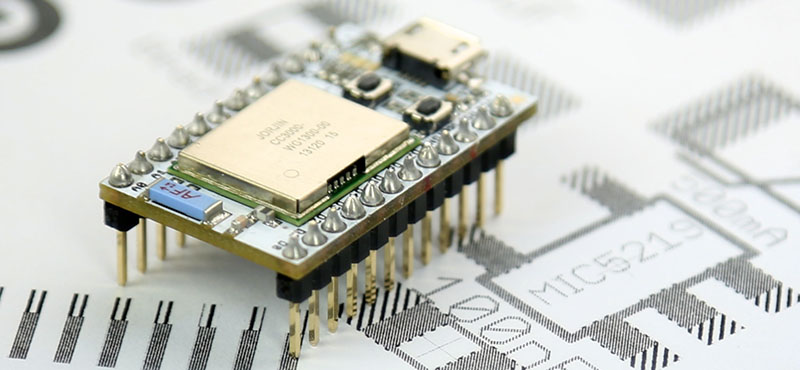
The new Particle Photon works and behaves the same way as the original Spark Core. It’s essentially an updated version with a better Wi-Fi chip, faster speeds and half the price ($19 instead of $39)! This year they also released the Electron which has a SIM card in it and can connect to a cellular network.
The killer feature of the Photon, and all Particle boards, is that they provide a cheap and reliable way to connect your project to your wireless network and to the Internet. The boards are Arduino compatible so you don’t have to learn a new language and all coding and management works from the cloud, from their website. You don’t need a USB, even uploading your code works wirelessly and from anywhere you can access the Internet.
Shopping List
Here’s a list of all the components for this project to give you a better understanding of what’s happening:
-
IKEA Lampan desk lamp (£2.75)
-
12V, 1A AC to DC wall adapter or psu (£3)
-
12V, RGB LED strip, 1 meter long (£4)
-
Spark Core or Photon development board (£15)
-
3 x 2N7000 NPN transistor (<£1)
-
3 x 1000Ω resistor (<£1)
-
1 x TS2940CZ 5V, 1A voltage regulator (<£1)
-
Breadboard and wires (<£1)
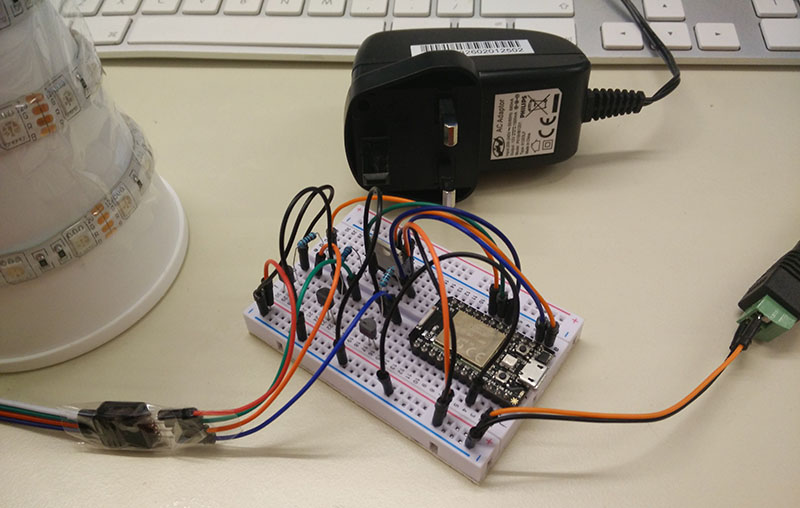
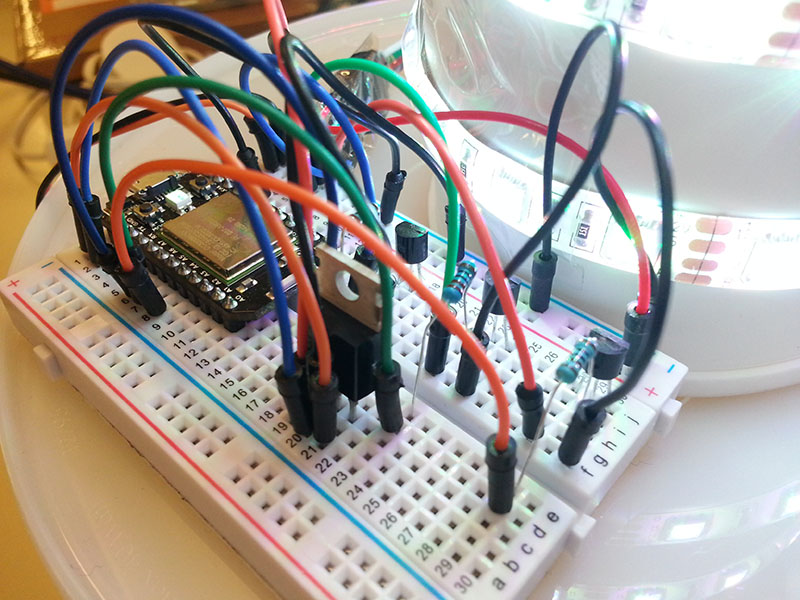
I got the desk lamp from IKEA for £2.75 and all other components from eBay. First, I completely got rid of the original components then built the circuit on a breadboard which I later placed under the shade of the lamp.
Building the circuit
The tricky bit here is that the LED strip requires 12V power so it can’t be directly switched from the board’s output pins as they are 3.3V only (yes, it’s not 5V like on the Arduino UNO). To solve this problem I used an NPN transistor which can switch the 12V for the LEDs. The transistor has 3 legs. One leg takes the 12V input from my adapter, the other leg takes the 5V control signal from the Arduino’s output pin and we also have a third, output pin. When the Arduino sends signal (5V / HIGH) from the output pin it switches the 12V on on the output pin, when there’s no signal from the Arduino (0V / LOW) the output goes back to 0V.
This is very similar to how we switch higher voltages with the Arduino. For example for 240V, mains voltage we use a relay. A relay also has input, output and control signal pins. The input takes 240V and when you send your 5V signal from your Arduino to the control pin, the 240V is switched on for the output pin.
Let’s have a look at the final circuit of the desk lamp.
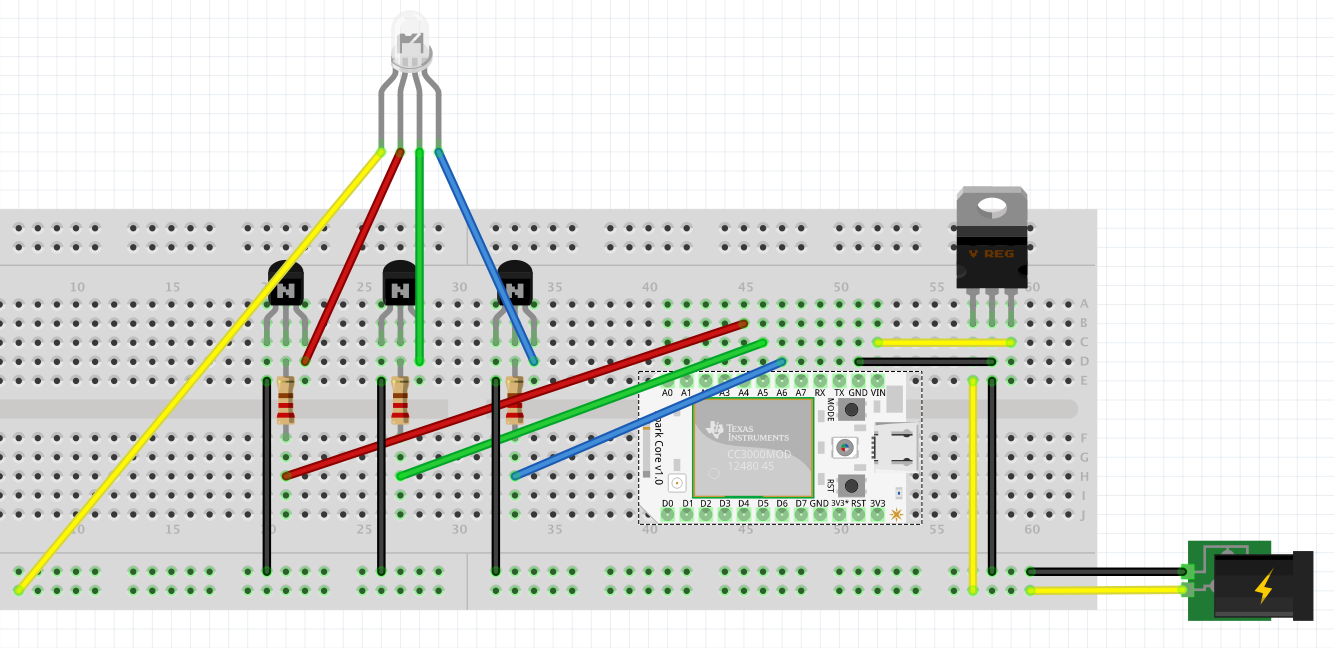
Here’s the step-by-step guide on the build:
-
First we supply 12V DC power from the adapter (yellow and black wires at the bottom right).
-
This is then connected to the 5V regulator because the Spark Core can only be supplied with 3.6 – 6V DC. The 5V regulated voltage is then connected to the VIN and GND pins on the Core.
-
The NPN transistors (black components with an N on them) are used to close the 12V circuit (switch ground) by the 3.3V logic level signal from the Spark Core.
-
First we connect the grounds to the left pins of the transistors (Source) from the 12V circuit then connect the 3.3V switch signals (HIGH) from the A4, A5 and A6 pins (red, green, blue) to the middle pin of the transistor (Gate) through a 1000Ω resistor.
-
Lastly the switched ground is taken to the LED strip from the right pin of the transistor (Drain) as well as the constant positive 12V from the power supply (yellow wire at the bottom left).
And here’s the code running on the core. The code is very simple but since this is just a quick prototype, has not been optimised at all:
void setup() {
    // register the Spark function
    Spark.function("notify", notify);

    // register pins
    pinMode(A4, OUTPUT);
    pinMode(A5, OUTPUT);
    pinMode(A6, OUTPUT);

    // switch light on
    analogWrite(A4, 255);
    analogWrite(A5, 200);
    analogWrite(A6, 150);
}

void loop() {
    // this loops forever
}

int notify(String command) {
    if(command == "gmail") {
        analogWrite(A4, 255);
        analogWrite(A5, 0);
        analogWrite(A6, 0);
        delay(20000);
        analogWrite(A4, 255);
        analogWrite(A5, 200);
        analogWrite(A6, 150);
        return 1;
    }

    if(command == "facebook") {
        analogWrite(A4, 0);
        analogWrite(A5, 80);
        analogWrite(A6, 255);
        delay(20000);
        analogWrite(A4, 255);
        analogWrite(A5, 200);
        analogWrite(A6, 150);
        return 1;
    }

    if(command == "instagram") {
        analogWrite(A4, 0);
        analogWrite(A5, 255);
        analogWrite(A6, 0);
        delay(20000);
        analogWrite(A4, 255);
        analogWrite(A5, 200);
        analogWrite(A6, 150);
        return 1;
    }

    if(command == "twitter") {
        analogWrite(A4, 100);
        analogWrite(A5, 150);
        analogWrite(A6, 255);
        delay(5000);
        analogWrite(A4, 255);
        analogWrite(A5, 255);
        analogWrite(A6, 255);
        return 1;
    }

    else return -1;

}
Please note that the initial, white values are R: 255 G: 200 B: 150. This is because the LED is too blue if simply set to R: 255 G: 255 B: 255 so I had to adjust the white balance a little bit.
Once this code is uploaded then the exposed Spark function(notify) can be called from the If This Then That service.
IFTTT
The other exciting piece of recent news from Particle is the ‘If This Then That’ support. IFTTT is an amazing service that allows you to create personal “recipes” consisting of a Trigger event and an Action. Triggers are notifications from popular services like Facebook, Instangram, Twitter, Google Calendar or Gmail, events from physical devices like the Nest thermostat, the Netatmo personal weather station or all of WeMo’s smart home accessories. Actions can also be chosen from a list of dozens and dozens of services and devices, 167 channels in total.
For Particle developers this means that they can now connect their hardware projects to all 167 channels and setup hundreds of different tasks in a couple of minutes. Here are a few examples:
-
Send a notification to my Android smart watch if my home temperature drops below 16 degrees
-
Email me when the dog’s water bowl is empty
-
Blink a green light when a new commit has been pushed to my Github repository, and orange after a fork
-
Create a calendar event or update my to-do list when the soil moisture sensor is dry to water my plants
-
Log home sensor readings into my Google Drive
Here are a few more recipes to get you inspired: IFTTT recipes.
Once you setup your own account you can create your own recipes and when you get to choose the Action, choose Particle and call the function you exposed in your application code, “notify” in our case.

And that is all you need to do to complete this project. Let me know what you think and how you would improve it.