The final project in the JavaScript Electronics book for complete beginners is a Smart Talking Plant sensor system built from scratch. The plant features temperature, light and soil moisture sensors and is able to talk and complain about its living conditions.
The project also covers data logging and building a front-end app that displays measurements on charts in real-time. Here's a quick intro:
www.youtube.com/watch?v=HFMu35VD07c
Adding a face to the plant
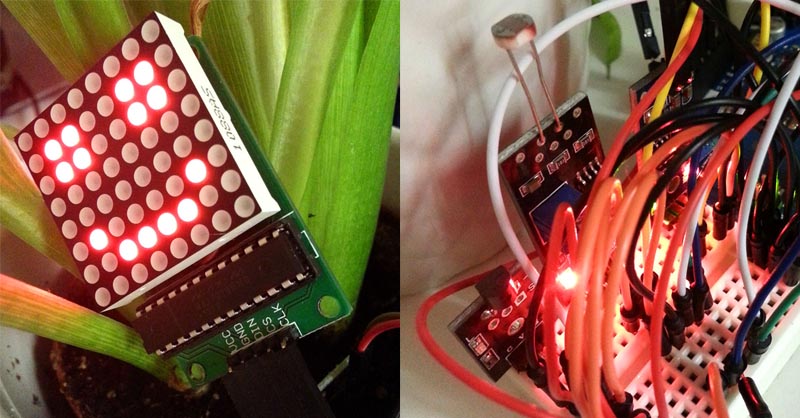
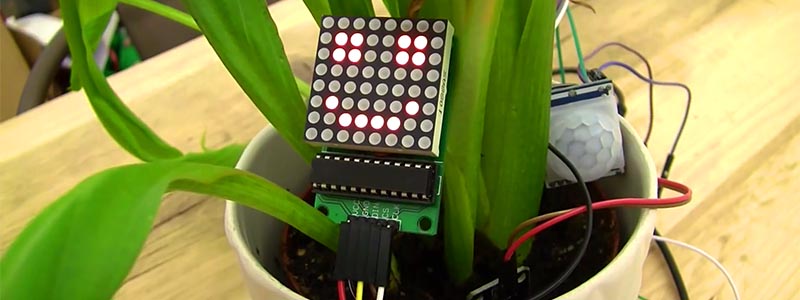
Today we are going to extend this project and add an 8x8 LED display to the plant to display different faces on it. He will display a sad face when some sensor measurements are above or below the predifined tresholds and a happy face when all is good.
Here's how the LED face looked like on George, the talking plant:
The source code of the Smart Talking Plant project with the circuit diagrams from the book can be downloaded from Github for free. This is going to be the basis of this project: (Smart Talking Plant on Github)[https://github.com/webondevices/js-electronics-book/tree/master/12-smart-plant-speak]
And this is the code of the finished version, complete with the 8x8 LED face: (With 8x8 LED face on Github)[https://github.com/webondevices/js-electronics-book/tree/master/13-smart-plant-face]
Working with the MAX7219 LED matrix
For this project we will work with this very common LED module that already has the MAX7219 controller chip onboard:
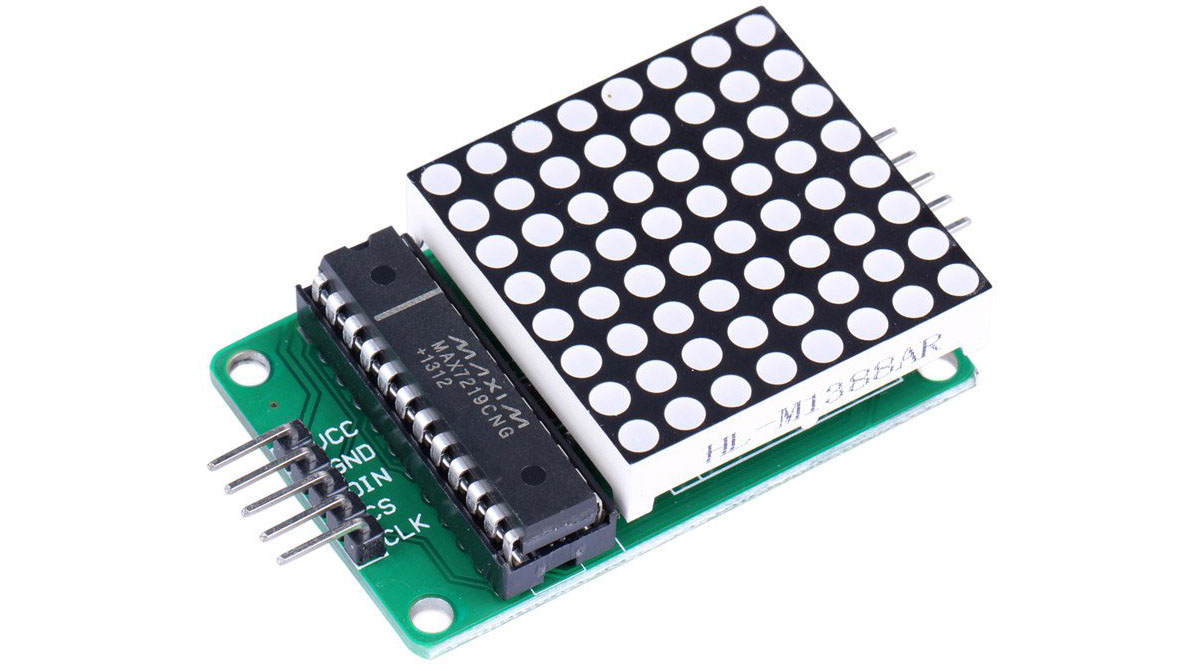
To connect this to your Arduino, follow the below circuit diagram:

Giving the plant more emotions
Line 34 in the original smart-plant.js file is where all the measurements are received in the sensor event listener callback functions:
thermometer.on('data', function () {
    sensorData.celsius = this.C;
    server.updateData(sensorData);
    speak.interpret(sensorData);
});

lightSensor.on('data', function () {
    sensorData.light = (this.value / 1024) * 100;
    server.updateData(sensorData);
    speak.interpret(sensorData);
});

moistureSensor.on('data', function () {
    sensorData.moisture = ((1024 - this.value) / 1024) * 100;
    server.updateData(sensorData);
    speak.interpret(sensorData);
});
For each sensor, this is where we handle the incoming data:
- update the sensorData object
- update the server with the new measurements
- pass the data to the speak module to speak after interpreting the values
Th easiest way to add the LED face logic to the existing code is to add it to the existing speak module. This makes perfect sense as the data is already passed in and the if .. else logic has already been worked out to tell when the plant is happy and not so happy.
What we can do here is simply save the desired emotion inside each of the conditions in a variable called emotion like so:
    var message = '';
    var emotion = 'neutral';
    var now = new Date();
    var currentHour = now.getHours();

    if (sensorData.celsius < 18) {
        message += 'I\'m freezing! It\'s ' + sensorData.celsius + 'degrees in here. Turn on the heating or put me out in the sun.';
        emotion = 'sad';

    } else if (sensorData.celsius > 25) {
        message += 'I\'m hot! It\'s ' + sensorData.celsius + 'degrees in here. Open the window or move me away from the sun.';
        emotion = 'sad';
    }

    if (sensorData.light < 25 && currentHour < 20 && currentHour > 6) {
        message += 'It\'s too dark in here. Switch the lights on!';
        emotion = 'sad';
    }

    if (sensorData.moisture < 35) {
        message += 'Water me please! My soil is dry.';
        emotion = 'sad';
    }

    if (message === '') {
        message += 'I\'m happy right now! Everything is fine.';
        emotion = 'happy';
    }

    if (now.getTime() - lastSpoken.getTime() > interval * 1000 * 60) {
        say.speak(message);
        face.display(faces[emotion]);
        lastSpoken = now;
    }
Notice the addition of the emotion variable that will eventually hold "happy", "sad" or "neutral". This is then passed into the yet to exist face.display() function.
Let's write this face module first and then we will see what it is that we passed into it to display, something like a face definition for the LED module.
var five = require('johnny-five');
var matrix = null;

function display (face) {
    // Initialise matrix if not yet done
    if (matrix === null) {
        matrix = new five.Led.Matrix({
            pins: {
                data: 2,
                clock: 3,
                cs: 4
            }
        });

        matrix.on();
    }

    // Draw the received pixel definition array on the matrix
    matrix.draw(face);
}

exports.display = display;
The exported display method that we called from the speak module expects an array of 0s and 1s to be able to tell which LED to light up or not. If we wanted to draw a cross on the board, then this is what we would do:
var cross = [
    "00011000",
    "00011000",
    "00011000",
    "11111111",
    "11111111",
    "00011000",
    "00011000",
    "00011000"
];

matrix.draw(cross);
It now makes a lot more sense to create an additional module to hold our different facial expressions that we can easily load later:
module.exports = {
    happy: [
        "00000000",
        "01100110",
        "01100110",
        "00000000",
        "11000011",
        "01000010",
        "01000010",
        "00111100"
    ],
    sad: [
        "00000000",
        "01100110",
        "01100110",
        "00000000",
        "00000000",
        "00111100",
        "01000010",
        "00000000"
    ],
    neutral: [
        "00000000",
        "01100110",
        "01100110",
        "00000000",
        "00000000",
        "00111100",
        "00000000",
        "00000000"
    ]
};
Save this as face-definitions.js. Let's now load these two new modules in the speak.js file and see how all this comes together:
var faces = require('./face-definitions');
var face = require('./face');
The below line hopefully makes a lot more sense now:
face.display(faces[emotion]);The emotion holds the setting of either "happy", "sad" or "neutral" and in the faces[emotion] expression it is used as a property key to load the correct array definition for the matrix display.
Passing this definition to face.display() will internally call matrix.draw() and display a sad face if the plant has any issues or a happy face is everything is fine.
Again, feel free to browse the finished code on Github if you just want to see this working as soon as possible: