This is the second post in a series about logging sensor data from an Arduino with the help of Node.js and JavaScript.
In part one of the series, we have uploaded a piece of code onto the Arduino responsible for performing the sensor measurements and passing that data through as JSON via the USB port. We then read the incoming serial messages from a JavaScript app and logged the data into a CSV file.

If you wish to pick up the project from where we left it off last time, download the source from Github: https://github.com/webondevices/example-projects/tree/master/temp-log-csv
In this second part, we will connect to Amazon Web Services and save our data into their noSQL database service called DynamoDB.
Getting started with AWS
Amazon Web Services is a collection of cloud services that lets you create and manage databases (DynamoDB), run cloud functions (Lamdba), build APIs (API Gateway), control IoT devices (AWS IoT Core), store files (S3), write Amazon Alexa skills (Alexa Skills Kit), access Machine Learning driven services like natural language processing, image and voice recognition or speech synthesis, and dozens of other useful services. Most importantly all of these have a JavaScript SDK so it's very easy to get started, even as a front-end developer.
It's worth mentioning that AWS can have some cost implications but most of the services start from a free tier that you'd probably only exceed if you are working at a commercial scale so getting started and playing around is usually free.
To get started, first register an account:
https://portal.aws.amazon.com/billing/signup
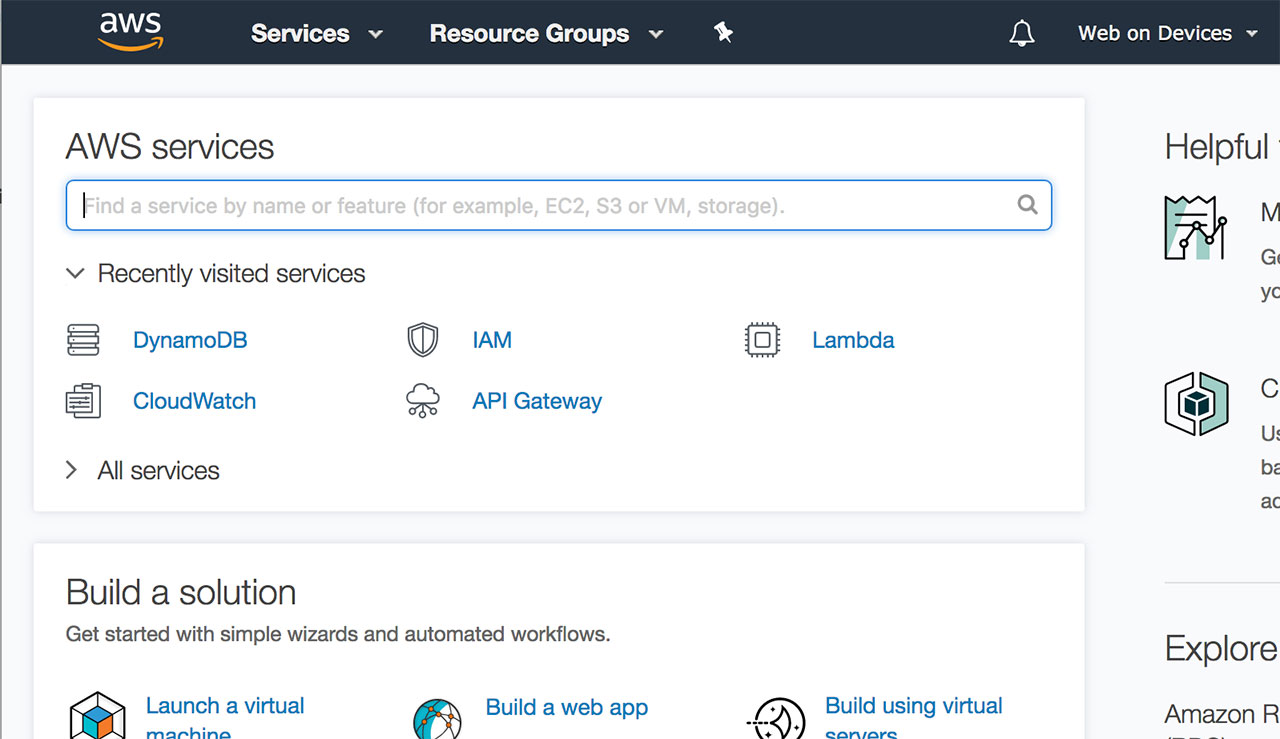
After logging into your new account you will be redirected to the console homepage.
To work with AWS from Node.js, the AWS command line tool is recommended to be installed, especially to make the setup process easy.
On Windows the MSI installer is the easiest way to get started: https://docs.aws.amazon.com/cli/latest/userguide/awscli-install-windows.html
On Macintosh pip is the recommended tool to install it: https://docs.aws.amazon.com/cli/latest/userguide/cli-install-macos.html
If you wish to install this on Linux or have any other issues, just refer to the rest of the installation guide: https://docs.aws.amazon.com/cli/latest/userguide/installing.html
To confirm that the installation was successful, run aws --version from the command line which should return the version number of the newly installed cli.
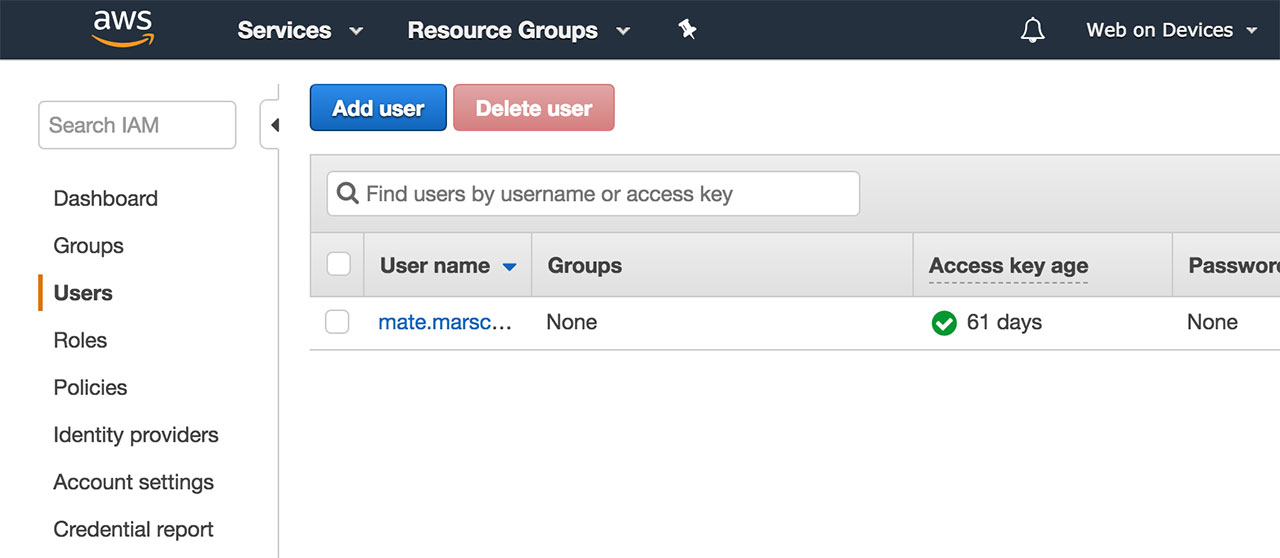
Next step is creating a user in AWS that will receive some API keys. These keys will let us connect to the cloud services from our computer via that dev user. In your console select IAM from the Services drop down menu or search for it:
IAM (AWS Identity and Access Management) is a service that helps you securely control access to AWS resources. You use IAM to control who is authenticated (signed in) and authorised (has permissions) to use resources.
We will create a new user with this tool and give it programmatic access which will generate an access key ID and a secret access key for the AWS API, CLI, SDK, and other development tools. Click Add user:
Fill out the name and select programmatic access. Next, you are asked to setup the permissions for the new user. On this page select "Attach existing policies directly" and choose "AdministratorAccess".
Granting administrator rights to an IAM user is not best practice so in production apps you will want to narrow down the accessible resources but these settings will do the job for now.
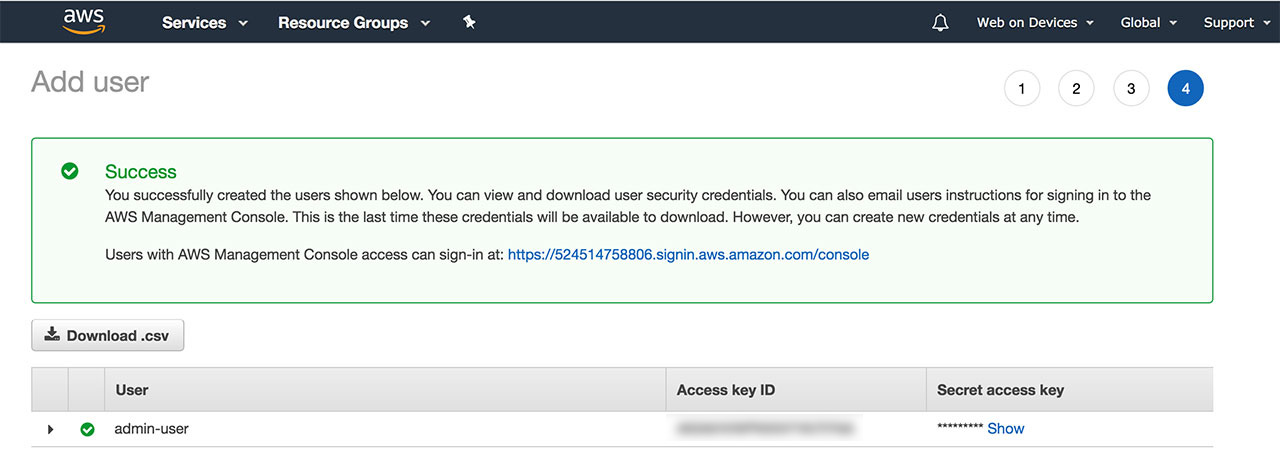
After creating the user you will have access to the Access key ID and the Secret access key. Make a note of these.
Let's now open up the command line and connect our newly created admin user to the AWS SDK. Run aws configure and copy your keys when prompted.
AWS Access Key ID [None]: <copy your key>
AWS Secret Access Key [None]: <copy your key>
Default region name [None]: <region you selected in the console>
Default output format [None]: <json or text or tabel>
The default region should be the region you selected in the top right corner of your AWS console:

The region codes can be found on this page: https://docs.aws.amazon.com/AWSEC2/latest/UserGuide/using-regions-availability-zones.html
The default output format can be either json, text, or table. If you don't specify an output format, json will be used.
And that's all there is to setting up the AWS SDK!
Creating a DynamoDB table
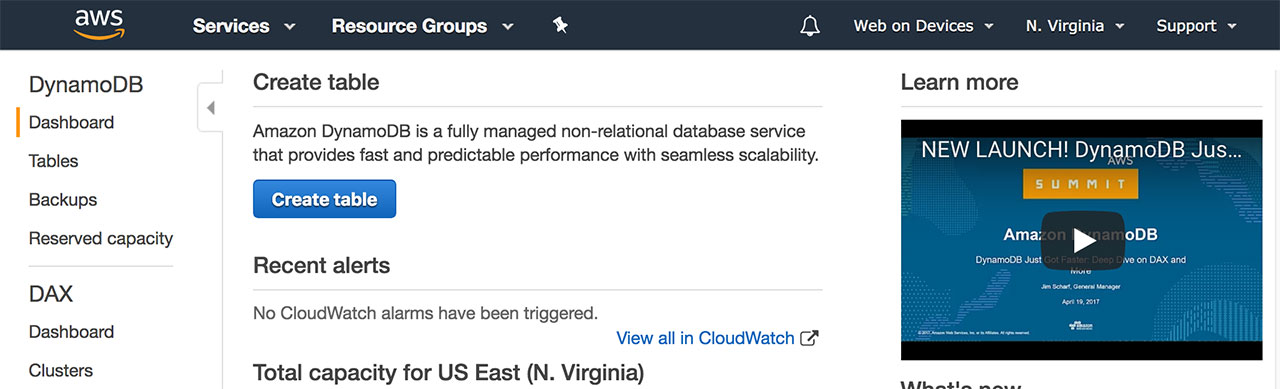
Let's now create a new table in our database for our data to be logged into. In the AWS console homepage select DynamoDB from the Services drop down menu or search for it.
At this point, make sure you have the correct region selected for your service as your table will be created in and assigned to that very region and it will not be accessible if another region is selected. Next, you can click on the Create Table button.
Name your table and add a partion key as a primary key. The primary key uniquely identifies each item in the table, so that no two items can have the same key. In our case we wouldn't want to use the temperature or humidity values, as two entries in our table can have the same value. Instead, we could use the datetime millisecond value which will always be unique.
In other cases when you find it difficult to choose a unique primary key from your data, you can just simply use a uniquely generated ID.
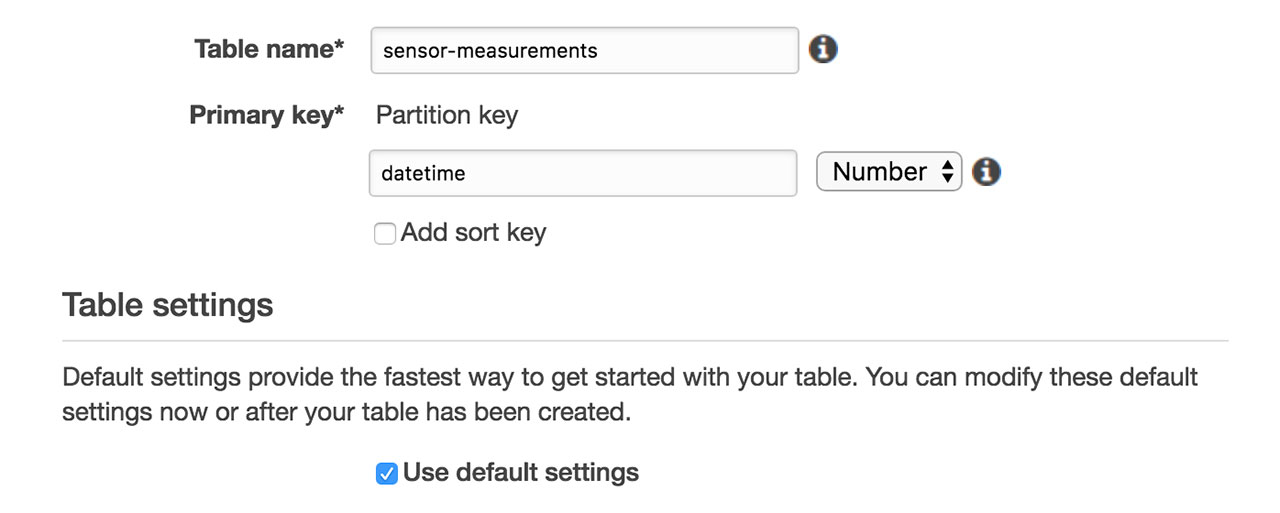
Click on create and you are now ready to submit your readings to the database!
Sending data to the database with AWS Dynamodb for Node.js
Again, if you wish to pick up the previous project from this point, download the source from Github: https://github.com/webondevices/example-projects/tree/master/temp-log-csv
The piece of Arduino code remains the same, we will only make changes to the JavaScript file. Firstly, we need to install the AWS NPM packages to connect to DynamoDB: npm install --save aws-sdk dynamodb-doc
When the installation is finished, load and initialise the new libraries in a new file called temp-log-aws.js:
const AWS = require('aws-sdk');
AWS.config.update({region: 'eu-west-2'});

const doc = require('dynamodb-doc');
const dynamo = new doc.DynamoDB();
Note the region setting at the initialisation. If this setting is omitted, the default region setting will be used, the one you specified after the aws configure command. Remember that this will need to match the region you created your DynamoDB table in. Use this page to look up region codes: https://docs.aws.amazon.com/AWSEC2/latest/UserGuide/using-regions-availability-zones.html.
We are now ready to use the dynamo.putItem() method to submit new data to the table:
dynamo.putItem({
    TableName: 'sensor-measurements',
    Item: {
        temperature: temperature,
        humidity: humidity,
        datetime: moment.getTime()
    }
}, function(err, data) {
    if (err) {
        console.log(err);
    } else {
        console.log(JSON.stringify(data, null, '  '));
    }
});
Here, the two most important things to remember are that:
- the TableName will need to match the name of the table you created in DynamoDB,
- the Item object can have as many properties as you want with any data type you prefer, but you always have to include your partion key at least once and it has to match the datatype you specified when you created it, in our case this was the datetime property and we chose the Number type.
This piece of code needs to be added into the callback function of the serialport event listener as we originally created it in the first part of this series.
The final version of the code will have this function added in the callback:
const AWS = require('aws-sdk');
// Change to the region of your DB
AWS.config.update({region: 'eu-west-2'});

const doc = require('dynamodb-doc');
const dynamo = new doc.DynamoDB();

const SerialPort = require('serialport');
const SerialPort = require('serialport');

// Add your USB port name
const port = new SerialPort('/dev/xy', {
	parser: SerialPort.parsers.readline('\n')
});

const logIntervalMinutes = 0.1;
let lastMoment = new Date();

function tryParseJson(str) {
    try {
        JSON.parse(str);
    } catch (e) {
        return false;
    }
    return JSON.parse(str);
}

port.on('open', function() {
	port.on('data', function(data) {
		const sensorData = tryParseJson(data);
		const moment = new Date();

		if (moment.getTime() - lastMoment.getTime() > logIntervalMinutes * 60 * 1000) {
			lastMoment = moment;

			dynamo.putItem({
				TableName: 'sensor-measurements',
				Item: {
					temperature: sensorData.temperature,
					humidity: sensorData.humidity,
					datetime: moment.getTime()
				}
			}, function(err, data) {
				if (err) {
					console.log(err);
				} else {
					console.log(JSON.stringify(data, null, '  '));
				}
			});
		}
	});
});
Saving this into a file called temp-log-aws.js and running node temp-log-aws.js will submit new sensor measurement readings to DynamoDB every 6 seconds.
Well done on finishing this project! You are now fully set up to work with AWS from Node.js and Arduino and know how to save your sensor measurements to the cloud to later use it for analytics or trigger different actions or notifications.
Validating the data in the AWS console
There are two ways to validate or retreive the data that we've just saved to DynamoDB. The easiest option is navigating to the DynamoDB service from the web console, then selecting "Tables", clicking on the name of your table and selecting the the Items tab.
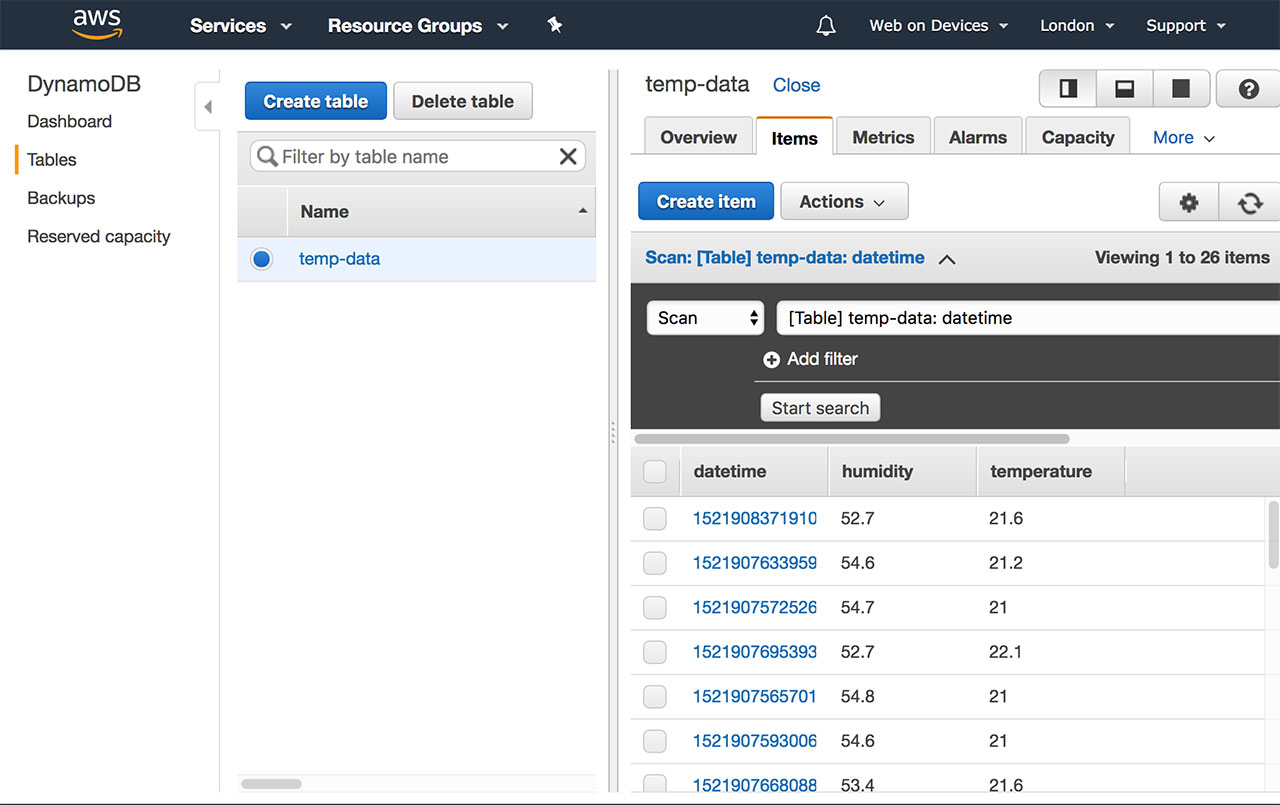
All our data is listed here as expected and you can export or filter it depending on your needs.
Validating the data by scanning DynamoDB
Second option for retreiving the data is programatically requesting it from JavaScript. Let's start with a simple example: download all data from the table. We can say we want to scan for entries with a datetime value lower than the current time. This essentially means all entries in the past.
Please note that scanning and querying are different concepts in DyanmoDB. When you query, you have to include your primary key in the query. In our case this would mean query by the datetime value. Scanning gives you a lot more freedom (but could be slightly slower in bigger datasets) for this is what we will use for now.
Add this into a new file called temp-read-aws.js:
const AWS = require('aws-sdk');
AWS.config.update({region: 'eu-west-2'});

const doc = require('dynamodb-doc');
const dynamo = new doc.DynamoDB();

const date = new Date;

// Return all items before current time
const params1 = {
    TableName: "sensor-measurements",
    ProjectionExpression: "#datetime, #temperature, #humidity",
    FilterExpression: "#datetime < :now",
    ExpressionAttributeNames:{
        "#temperature": "temperature",
        "#datetime": "datetime",
        "#humidity": "humidity"
    },
    ExpressionAttributeValues: {
        ":now": date.getTime()
    }
};

dynamo.scan(params1, function (err, data) {
    console.log(err, data);
});
The params1 object passed into the scan function has quite an interesting syntax, it looks quite arbitrary. Let's go through the query parameters line-by-line and try to understand what's going on.
TableName is obviously the name of the table we would like to scan in.
ProjectionExpression is the comma separated list of properties we would like the returned matching items to contain. If we only had "#temperature" in here, the response object would only contain a list of temperature values. Humidity and datetime would be missing.
Also note the use of the # characters before the property names. This is essentially a substitution name that you can look up in the ExpressionAttributesNames object and it's necessary to be used as some names can be reserved words and would cause issues, datetime is one of them.
The FilterExpression is where we actually define the query. The attribute value that we are comparing to (:now) will also need to be substituted to avoid reserved word conflicts. The lookup table for these can be found in the ExpressionAttributeValues object.
Let's see another example where we want to return entries with temperature values over 21.5 degrees:
const params2 = {
    TableName: "temp-data",
    ProjectionExpression: "#datetime, #temperature, #humidity",
    FilterExpression: "#temperature > :temp",
    ExpressionAttributeNames:{
        "#temperature": "temperature",
        "#datetime": "datetime",
        "#humidity": "humidity"
    },
    ExpressionAttributeValues: {
        ":temp": 21.5
    }
};
And here is one final example that will return entries with humidity values between 52 and 53:
const params3 = {
    TableName: "temp-data",
    ProjectionExpression: "#datetime, #temperature, #humidity",
    FilterExpression: "#humidity between :hummin and :hummax",
    ExpressionAttributeNames:{
        "#temperature": "temperature",
        "#datetime": "datetime",
        "#humidity": "humidity"
    },
    ExpressionAttributeValues: {
        ":hummin": 52,
        ":hummax": 53
    }
};
Final thoughts
I hope all this was exciting. I know we have covered a lot, but remember that now you are completely set up to work with Amazon Web Service and ready to use all the other services they offer. This is definitely something we will discover in the future, including setting up automatic notifications, triggering cloud functions and discovering AWS IoT Core to control electronic devices remotely.